
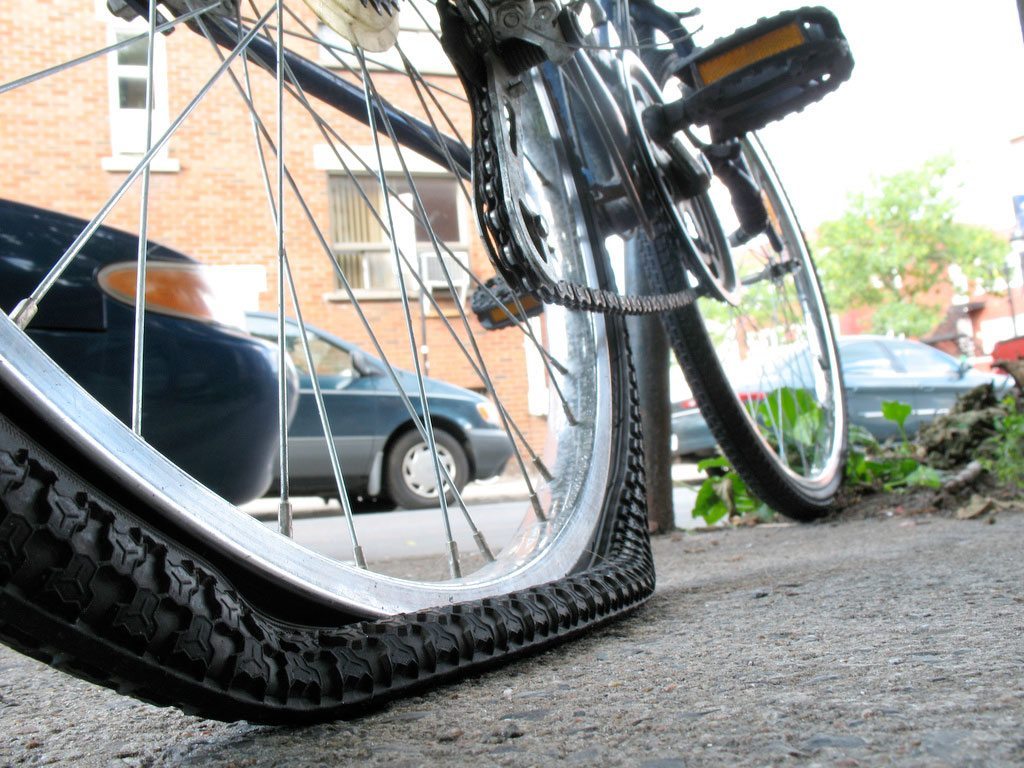
You are riding along loving the experience when you feel the rear tire getting squishy. You look down and confirm you are rapidly losing pressure. Yikes! A flat. Don’t panic, here is what to do for a fast and safe repair.
Look for a safe place to fix the flat. Many law enforcement officials will tell you get as far away from cars as you can to repair you tire. (On you car) On your bike this is even more important. Use whatever ride time you have left to select the safest repair spot. I have
Look for a comfortable place to enact your repair. If there is a park with grass and trees, head for it! (Kind of Ideal). You can sit on the grass, away from traffic, and take your time with the repair. I tend to look for a comfortable place to work the tire, and a safe place to lay or hang the bike. For example, many of the streets are manicured with a grass section between the curb and the sidewalk. These areas typically have trees planted in them as well. I pull over at the curb, step on the the grass with the bike, unclamp the brake and quick release, pull the wheel off, and hang the bike by the seat from a low hanging tree branch. If no tree works, I lay the bike on its side with the drive train up. (Grass is nice here). Now I can fix the flat in comfort and safety.
Flat fix tips. Before you remove the rear wheel, shift to the small front chain ring and shift the 2nd or 3rd smallest cog on the rear cassette. This makes removal and re-installation much easier. Remove the wheel. Look at the outside of the tire for your puncture pest. It could be glass, a nail, a tack, or other. If you can see it, remove it from the tire if you can. Use you tire iron next to unbend one side of the tire. Extract the tube with the tire still half mounted on the bike via one bead. Once the tube is off, check the inside of the tire for Puncture pests. Have to find and remove those pest now, or you new $8 tube will flat just like the last one. Get the pest out! Run your though through the tires casing to palpate and locate. Careful. Next remove your new tube, unscrew the valve into the open position, and blow some air into the tube with your mouth. It will give the tube some shape to work with. Instal the tube starting with the valve stem and working your way around the tire. With your hands, bead the tire onto the rim. Many tires can be beading entirely by hand which is preferred. If you need to use tire irons as a last resort. Be very careful NOT to pinch the tube with your irons. Once the tire is beaded, check the only side possible for tucked tube. The tube should be Tucked between the beads of the tire and therefore not visible when you pull the tire away from the rim. It is called a “clean bead”, meaning the tire is ready to safely inflate to pressure. Too many repairs end in a load CO2 induced bang when the tube was not “clean beaded” and blew out the side of the tire. Once the tire is inflated, and holding air, it is time to reassemble you bike and be on your way. Remember which gear you exited in, and therefore how to align you chain on the rear cassette.
Once you bike is reassembled and ready, police your repair area so you do not forget your tire irons or leave a tube as trash. Gather up all of it. No road side trash allowed. Collect yourself and ride on!

Leave A Comment
You must be logged in to post a comment.