

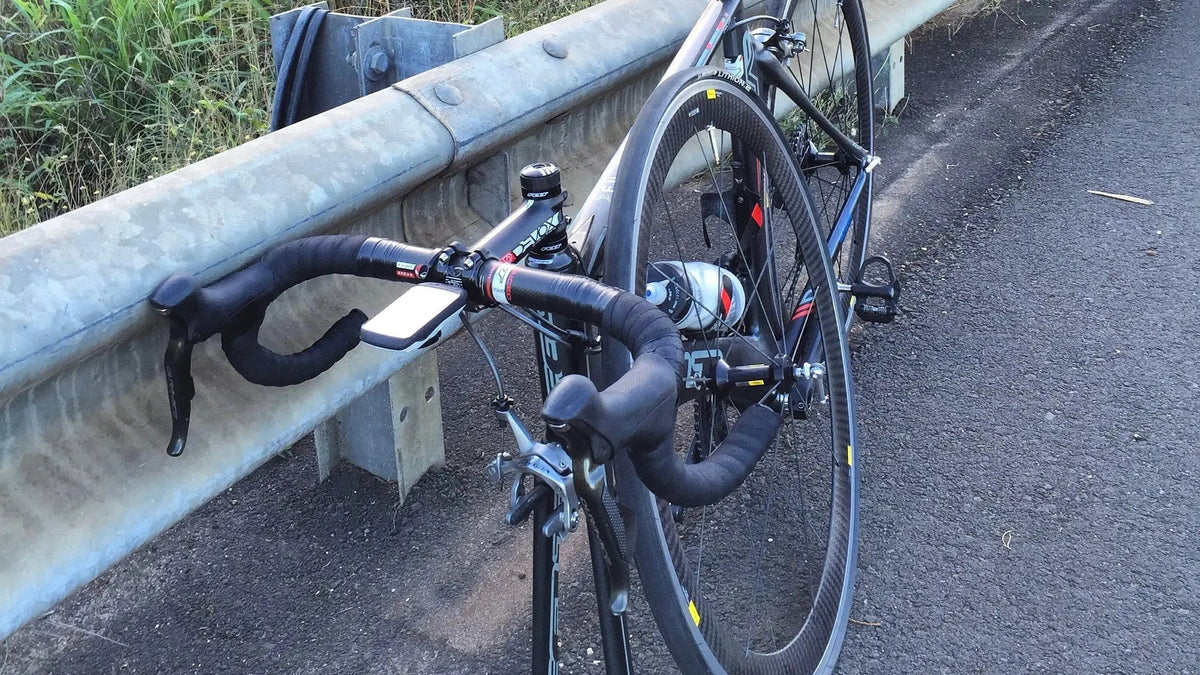
Flat on the road? Here is the routine.
Get well away from traffic first. If you run tubeless, try a plug before anything else, because the wheel stays on the bike. If the plug will not hold, or you run tubes, put a tube in. Either way, take your time getting the wheel back in, especially with thru-axles and disc brakes.
You are rolling along, having a great ride, and the rear starts to feel squishy. You look down and it is going flat. Do not panic, and do not stop where you are. We first wrote this routine in the rim brake and quick release days, and rewrote it in October 2026 for the tubeless, thru-axle and disc brake bikes we work on now. The first step has not changed at all.
Pick the spot before you stop
Use whatever roll the tire has left to find a safe place, as far from cars as you can get. A park with grass and some trees is close to ideal, because you can sit down, spread your things out and take your time.
Plenty of streets have a strip of grass between the curb and the sidewalk, often with trees in it. Pull off at the curb, step onto the grass and get the bike off the road. One of our favorite moves is hanging the bike by the saddle from a low branch. If there is no tree, lay it on its side with the drivetrain facing up, on grass if you can.
Get off the road before you do anything else.A repair done quickly in a bad spot does not end up being a fast repair.
Running tubeless: plug it first
A lot of small punctures in a tubeless tire seal on their own, and you never have to stop. When one keeps hissing, a plug is the fast fix and the wheel stays on the bike. This is how Dynaplug says to use its Racer Pro:
- Find the puncture by listening for the hiss, and use your free hand to keep air from escaping.
- Line the tool up with the hole.
- Push the tool all the way through the puncture.
- Pull the tool out, leaving the plug in the tire. Once the leak stops, trim the plug and add air if you need it.
Dynaplug adds two tips: a bad puncture can take more than one plug, and after you plug it, spin the wheel to spread the sealant around. Then top the tire up with a pump or a CO2 inflator and keep riding. Sealant and plugs only work if the sealant is still liquid, so check it on a schedule. We cover that in our tubeless post.
When you need the tube
If you run tubes, or the tubeless tire has a cut too big for a plug, the wheel has to come out. Do it in this order:
- Shift before the rear wheel comes outPark Tool says to shift to the smallest cog in back and the small ring up front, so the wheel comes out and goes back in more easily. Remember the gear you were in so you know where the chain belongs afterward.
- Get the wheel offWith a thru-axle, open the lever if it has one and turn the axle to loosen it, then slide it out. With a quick release, open the lever. With hydraulic disc brakes, do not squeeze the brake lever while the wheel is out, because the pads close up and the rotor will not go back in.
- Find what got youLook over the outside of the tread for glass, a nail, a thorn or a wire. If you can see it and get it out, pull it now.
- Open one side of the tireUse a tire lever to unseat one bead only, and leave the other bead on the rim. On tubeless, remove the tubeless valve and expect some sealant on your hands, which is normal.
- Check the inside of the tire, carefullyThis is the step that saves your next tube. Run your fingers slowly around the inside of the casing to find anything still stuck there, and go easy, because whatever made the hole can cut you too.
- Boot a big cutIf the cut is big enough that the tube would bulge through it, put a tire boot on the inside of the casing first. Park Tool's boots go on like a sticker: wipe the area clean, peel the backing and press the boot on square.
- Give the new tube a little airAdd just enough air for the tube to hold its shape. We open the valve and blow into it, which makes the tube easier to install and less likely to twist or pinch.
- Start at the valve and work aroundPut the valve through the rim pointing straight at the hub, tuck the tube into the tire, and roll the bead back on by hand. Many tires go on with hands alone, and that is the best way to do it. Use levers only as a last resort, and watch that you do not pinch the tube.
- Check for a clean beadBefore you inflate, look along both sides of the tire. You should not see any tube peeking out between the tire and the rim. Too many roadside repairs end with a loud CO2 bang because the tube was caught under the bead and blew out the side.
- Inflate and check it holdsAir it up, look it over again, and make sure it holds before the wheel goes back in.
Park Tool is clear that a boot is a temporary fix and that a damaged tire should be replaced as soon as possible. We keep a couple of Park Tool emergency tire boots in the saddle bag for exactly this.
Thru-axle. Line up the wheel, slide the axle all the way through, and turn it clockwise until it is tight. Park Tool warns that a wheel that is not securely mounted can come out when the bike is ridden.
Disc brakes. Guide the rotor into the gap between the pads as the wheel goes in. If you squeezed the lever and the pads closed up, Park Tool recommends a pad spreader to open them back up. If you just came off a long descent, give the rotor a minute to cool before you grab it.
Quick release. Close it so the lever meets real resistance, which Park Tool puts at 90 degrees from the frame or fork.
Spin the wheel and squeeze the brakes before you ride off.
Pack it all out
Before you roll, look around, because tire levers love to get left in the grass. Take the old tube, the empty CO2 cartridge, the plug wrapper and everything else with you. No roadside trash, ever.
If you keep flatting, it probably is not bad luck. We dug into the usual causes, along with sealant, liners and inserts, in Why do I keep getting flats?

Build your saddle bag kit before you need it: plugs for tubeless, plus a tube, levers and a boot for everything else.
Shop tubeless repairThen practice the whole thing once in the garage, where nobody is watching.